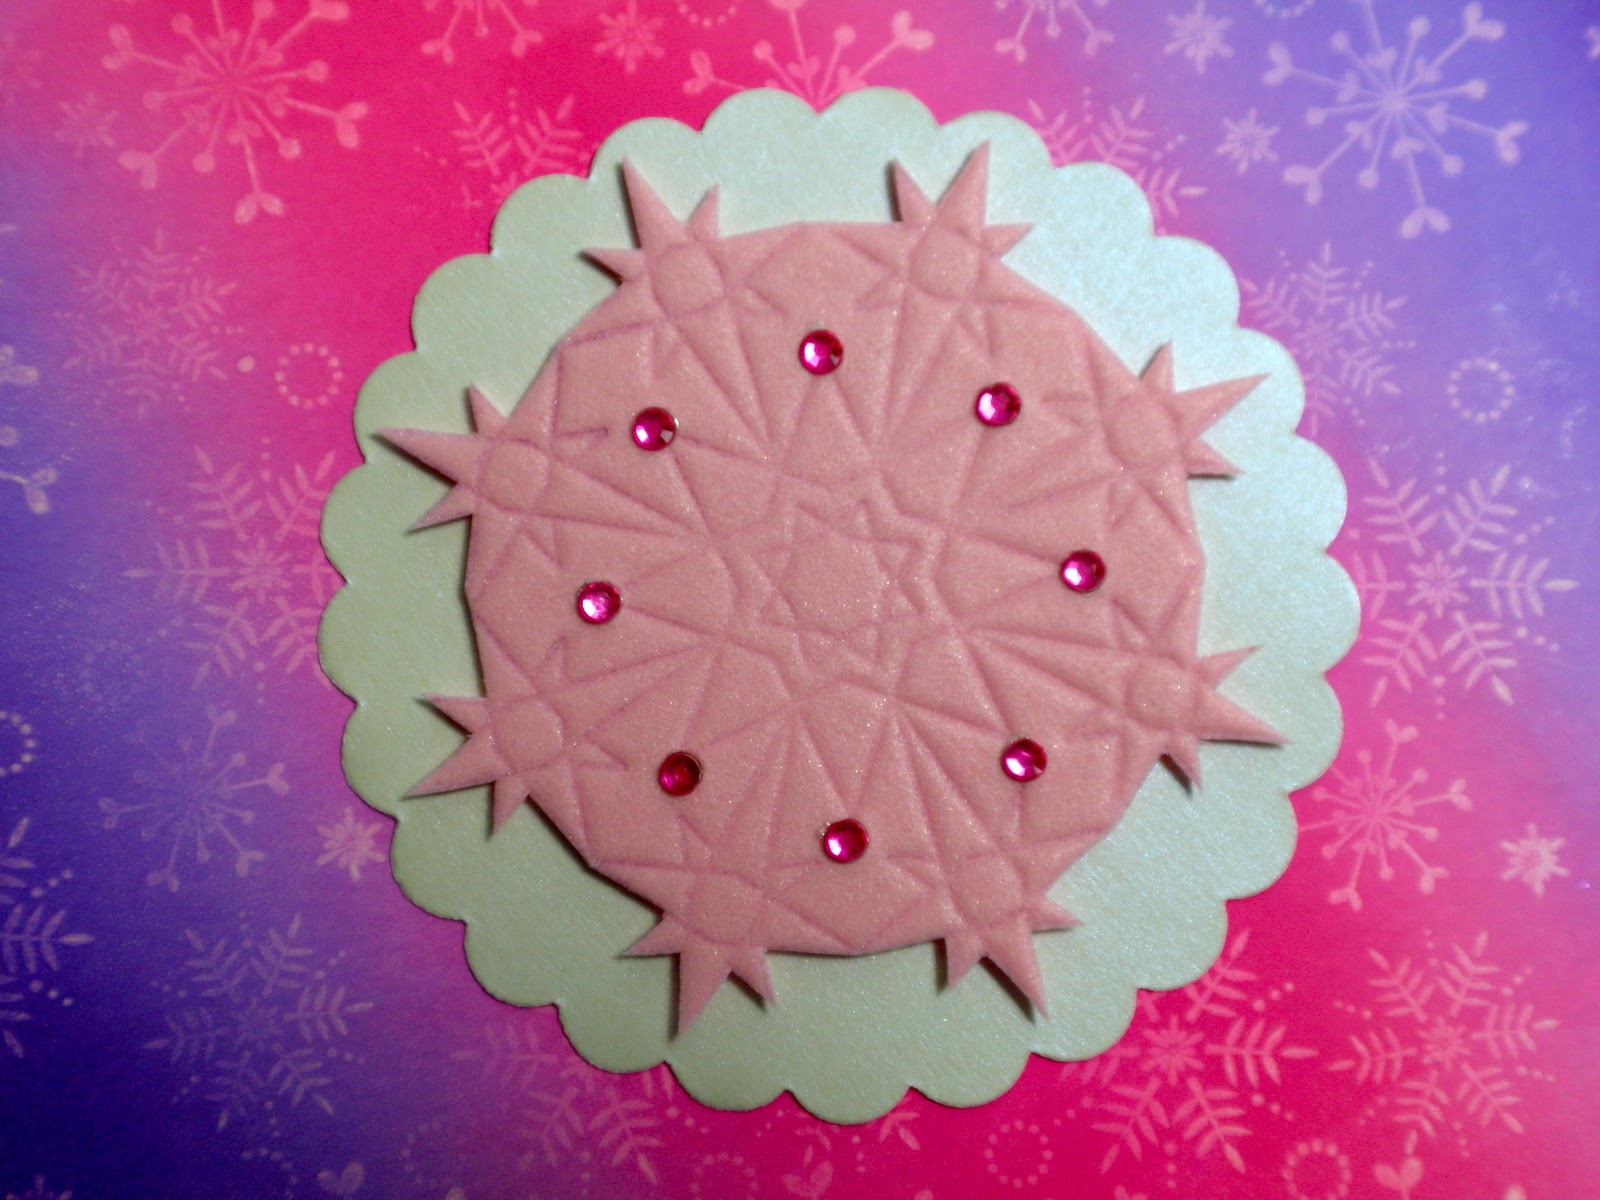
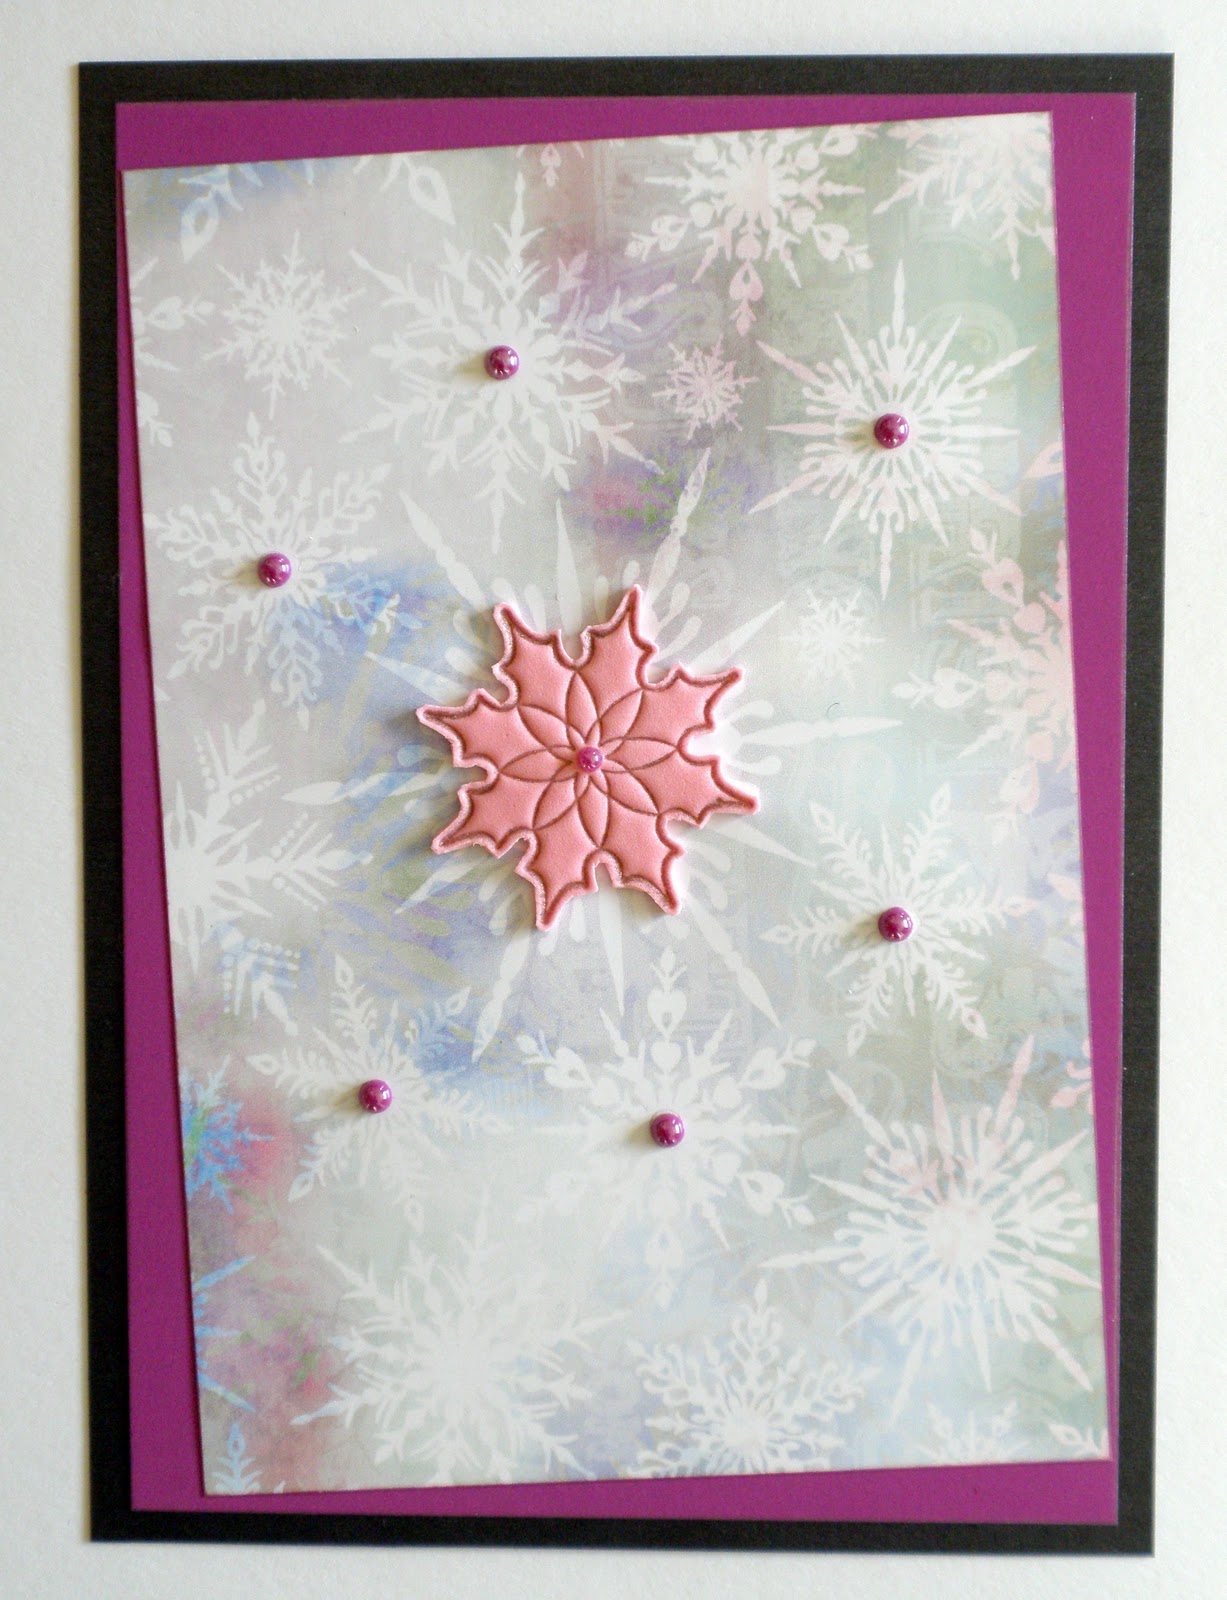
PEP tangles - my Zentangle Inspired Art blog
Showing posts with label Elusive Images. Show all posts

Saturday, 8 January 2011

A New House Mouse Snuggled in Warm Colours

front of card

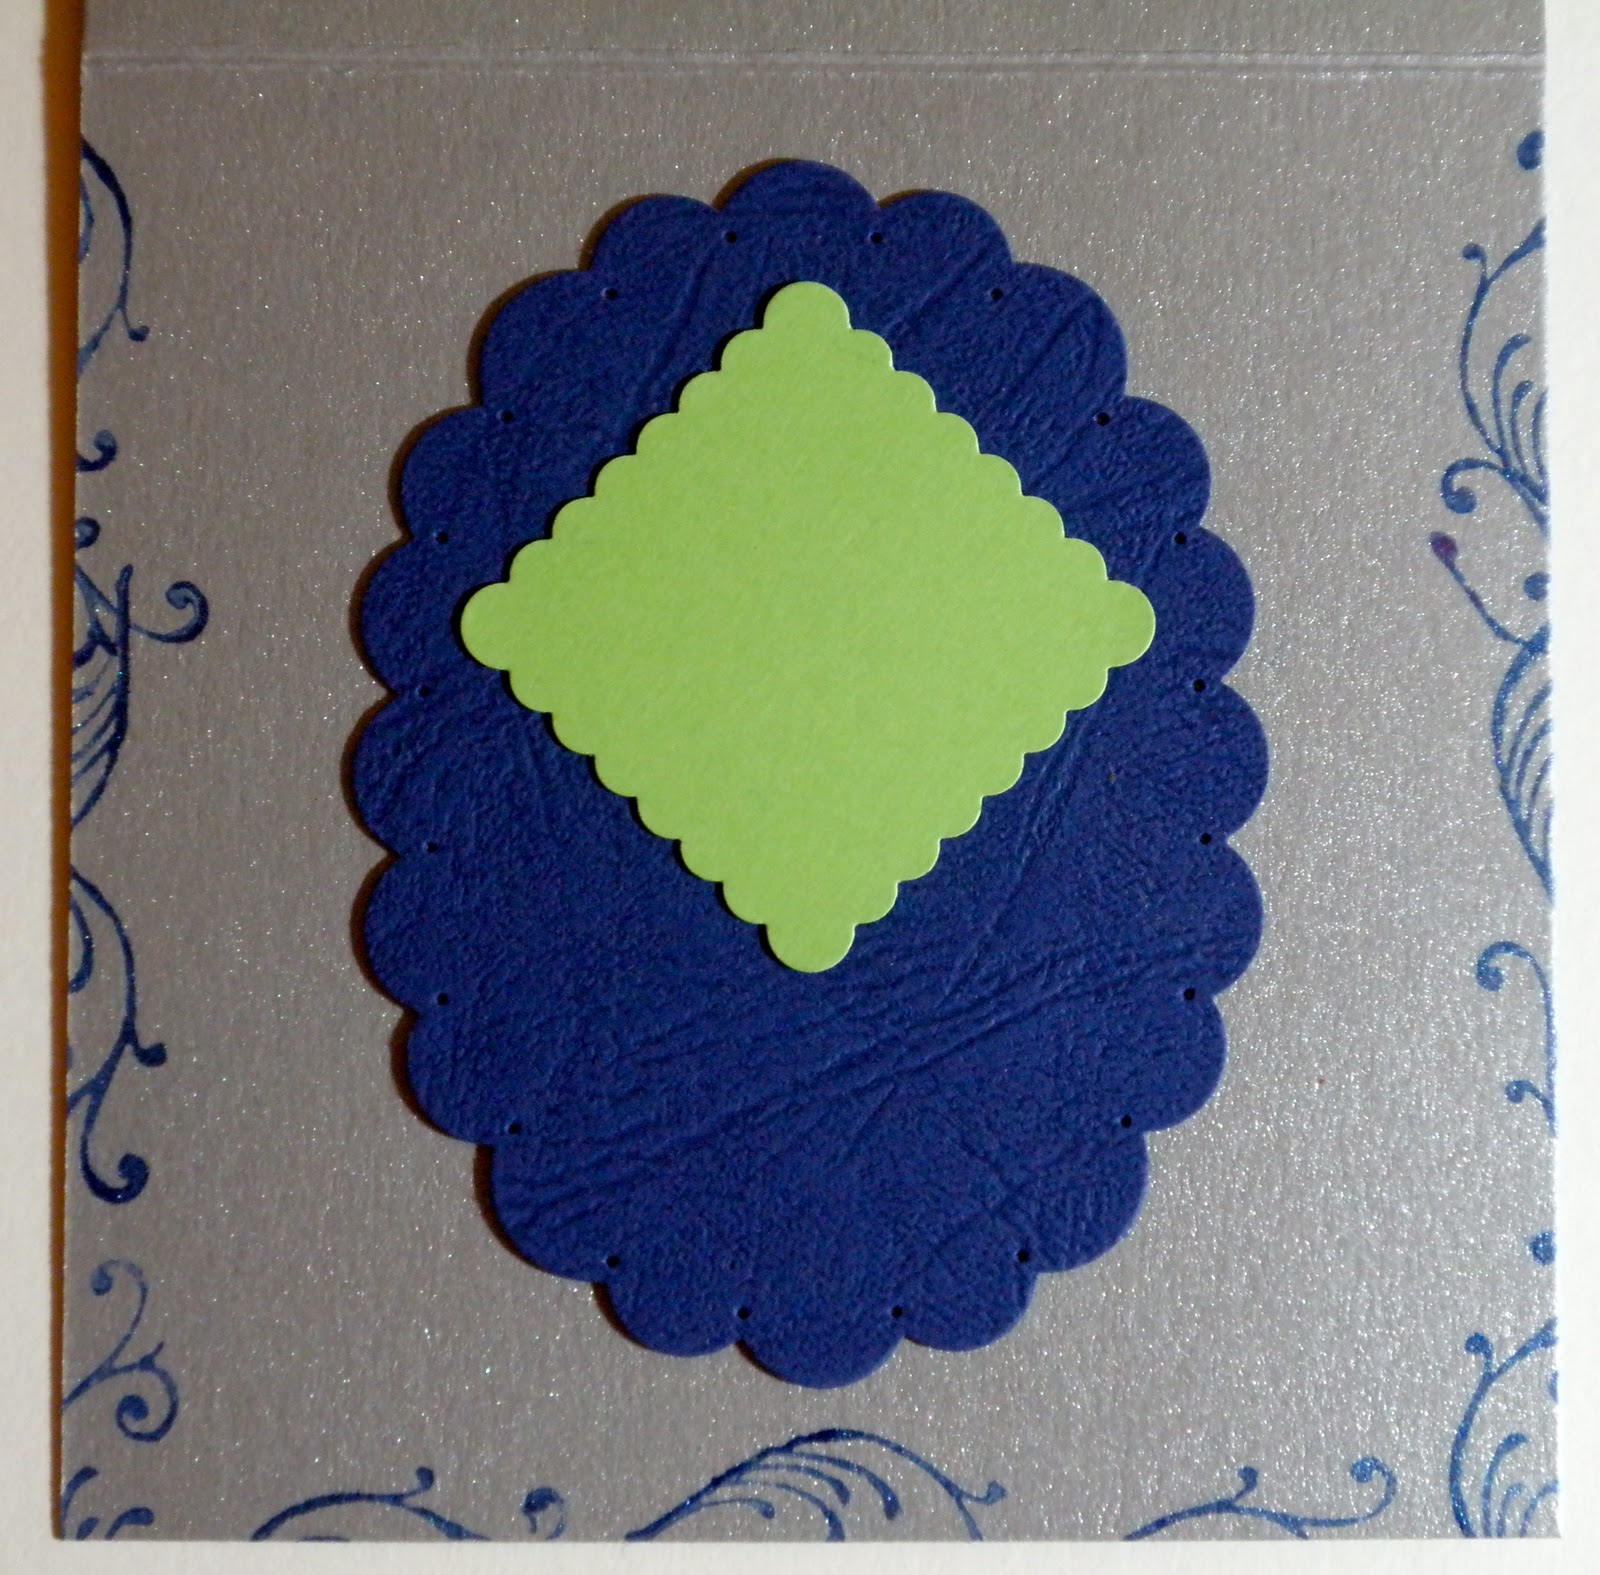
close-up showing image panel - the paper piercing 
of the black scalloped edging is just visible

close-up showing texture on black corners

close-up showing sparkling outline
of crocus corners

inside of card

close-up of message panel
(click on photos to enlarge)

I erroneously believed that the House Mouse images would be difficult to colour until I saw Joanna Sheen's House Mouse colouring video where she pointed out that the shading is already marked out by the stamp. My stamp sheet arrived yesterday morning & as I'd had a "filling the bin" exercise trying to compile a project for the CR84FN colour scheme I started again with my mouse. Colouring is normally a bit of an ordeal (& I know it will be until I've got my teeth into those colouring classes) but I thoroughly enjoyed colouring this mouse. Restricting myself predominantly to the specified colours of yellow, peach & light pink, the rest of the card wouldn't come together easily either so by the time I was happy with it I had missed the CR84FN9 deadline. The crocus corners, message panel & the mouse image were all stamped onto peach cardstock although it appears yellow in the photos. 

Apart from being a "New Beginning" for me (not only a new stamp but a new style of stamp & coloured using my new Derwent pencils) the card would be suitable for a New Home or, with the symbolical associations of the crocus, a Spring/Easter card. 

Recipe
Stamps House Mouse Designs Spring Crocus JSHM0009 (image), Elusive Images UDLSP0021 (corners & message panel). 
Inks Memento Tuxedo Black (image), Distress Ink (Worn Liptsick) for inking some paper & cardstock edges. 
Colouring Derwent Artists Pencils with paper stumps & Sansodor, Sakura Stardust Pen.
Cardstock An assortment of colours in various finishes & textures from "stash".
Paper Nancy Watt Collection from Making Cards August 2008.
Punches Woodware (circle & scalloped circles),  EK Success (black scalloped corners, Swirl Flourish ), Fiskars (ornate corner edger).
The pink pearls & gems are from "stash".

Challenges Entered
House Mouse & Friends Challenge 86 - New Beginnings (see above)
Simon Says.....New Beginnings (see above)

Thursday, 23 December 2010

Take Two.......

These are the two masculine cards I came up with instead of the pink marshmallows of yesterday's post.

(click on photos to enlarge)

FIRST CARD
 Image heat embossed (Stampendous Jewelled Gold); after bleaching, stars coloured with Twinkling H20s & glazed using Glossy Accents.

front of card

close-up showing heat embossing &
 crackle of Glossy Accents stars

inside of card showing paper pierced message panel
Stamp Penny Black 3881H Sparkle.
Inks Aged Mahogany Distress Ink for inking some cardstock/paper edges.
Punches Woodware (circle & scalloped circle), Xcut (corner).
Sequins, ribbon, assorted cardstock & paper.


SECOND CARD
Front: Brayered Resist background with heat embossed (Stampendous Crystal) image. 
Inside: VersaMark Tone on Tone stamping & edging of lime green cardstock.

front of card

close-up showing sparkle of heat embossed image
& Brayered Resist background

inside of card

close -up showing tone on tone stamping
& paper piercing on message panel
Stamps Hero Arts CL234 Winter's Butterfly (background), Elusive Images UA5SP0334 New England Winter (pine cone branch).
Inks Pine Needles Distress Ink for inking some cardstock edges.
Punches Woodware (circle & scalloped circle, scalloped rectangle), Docrafts (snowflake), EK Success (Wave Flourish).
Pearls, assorted cardstock (including Crafter's Companion Centura Pearl).

Wednesday, 22 December 2010

Pink Marshmallows For Men?

Thankfully I was tactfully advised that these cards might not be suitable for the two men I'd intended  since the pink was really too feminine & the foam put one in mind of soft squidgy pink marshmallows or fluffy candy floss. That was a close shave - actually rather obvious - but I was so intent on not doing cute & was thrilled when I thought how well the pink foam would work with the Brayered Resist (brayering over VersaMark stamping) backgrounds that I lost sight of the colours being feminine. Saved from a rather unfortunate faux pas by a very good friend of mine - who also happens to have an innately masculine perspective.

FIRST CARD
front

close-up showing stamped foam &
 Brayered Resist background

inside of card showing pearlescence of stamped border
& shine of Mirri Card


SECOND CARD
front

close-up showing stamped foam with glittered edge 
& Brayered Resist background

inside of card
(click on photos to enlarge)

Recipe
Stamps Hero Arts CL234 Winter's Butterfly (snowflakes)  Elusive Images UDLCW0029 Church Mandala (star design stamped into foam).
Inks Kaleidacolor Berry Blaze with VersaMark watermark stamp pad (background), Brilliance Pearlescent Purple (star design & inking some cardstock edges).
Cardstock Black plus an assortment of pinks & violets in various finishes from "stash".
Punches Woodware (circles & scalloped circles, scalloped rectangle), Xcut (ornate corner; the tiny black snowflakes are the waste from this).
Miscellaneous Pink Funky Foam, Ice Stickles Glitter Glue (Grape Ice), Liquid Pearls (Pastel Raspberry).
The gems are from "stash".

Challenges Entered
Oldie But A Goodie Challenge 8 - You're A Star (I have had the stamps for more than 6 months & the star iconography is the central focus of both these cards) 
Simon Says....ANYTHING GOES!!!! (my pink candy floss & marshmallows should be OK for this!)

Sunday, 5 December 2010

My Creative Classroom - Terriffic Techniques Wk 5

The final set of “homework” for My Creative Classroom – Terrific Techniques (with the theme of texture) proved to be somewhat of an eye-opener. I wasn’t going to do the Funky Foam exercise as I’ve tried this once before & didn’t like it at all. However, that was almost two years ago, & experience has taught me that  I sometimes have to rethink an attitude. I managed to find some craft foam available to purchase in single sheets though the cleanest piece (I don’t think this stock sells very fast) was pink! Suffice to say that I loved the Funky Foam – I wonder if Santa might bring me the pack  of foam I’ve seen in WH Smith’s which contains a whole rainbow of colours.

Owing to the severe weather conditions the planned Open Days at Graphicus this weekend were cancelled. Instead there was a series of posts on the Graphicus Blog with competitions, a crossword, special deals & some free downloads which people were asked to use should they wish to enter one of the competitions.  Somehow the homework pieces & these free downloads matched themselves up.

Polymer Clay
Stamp: Elusive Images
Image stamped into clay & coloured with Perfect Pearls (Interference Blue & Violet) prior to baking

close-up to show the sparkle of the glitter & Perfect Pearls
I made a Christmas ornament from my stamped clay: inking the punched cardstock edges (Brilliance Pearlescent Sky Blue & Pearlescent Purple), glittering (Ice Stickles Grape Ice) & adding a length of ribbon. The back is another punched & inked piece of pale blue cardstock (thus sandwiching the ribbon) left plain for writing a personal message to make it equally suitable as a gift tag for someone special.


Funky Foam
Stamp: Elusive Images
Ink: Brilliance Starlite Black (image), Brilliance Pearlescent Purple (paper & cardstock edges)
Image stamped into heated foam, layered onto free backing paper plus cardstock & embellished with pearls


UTEE
Stamp: Creative Expressions
Inks: Dusty Concord Distress Ink (Stampbord), Pastel Kaleidacolor (random brayered background), 
Brilliance Pearlescent Purple (paper & cardstock edges)
Stampbord inked & coated with clear UTEE into which image was stamped & the sides coloured (Sakura Stardust Pen); mounted onto randomly brayered background, cardstock & free backing paper; embellished with pearls

close-up highlighting heart motif on Stampbord 
& patterned paper
This came together when I spotted how the heart motif found in the stamped image is echoed in one of the snowflakes (which I embellished with a pearl).


Shrink Plastic
Stamp: Elusive Images
Embossing Powder: Stampendous Twilight
Heated shrink plastic stamped into, cooled & layered onto stamped heat embossed cardstock, matching the pattern of the texture in the stamped shrink plastic to the heat embossed image

close-up showing texture of shrink plastic
 matched with embossed pattern

Stamp: Crafty Individuals
Inks: Brilliance  Pearlescent Olive (stamping), Brilliance Pearlescent Purple (paper & cardstock edges)
Heated shrink plastic stamped into, cooled & layered onto free backing paper designed by Lesley plus stamped cardstock
This is the only one of the samples where I used the technique that I learned in the course to create a piece of artwork inspired by one of the motifs in the  backing paper – in this case stamping the crackle motif to make a piece of textured shrink plastic with which to embellish & coordinating stamped cardstock for matting onto.

Friday, 3 December 2010

My Creative Classroom - Terriffic Techniques Wk 4

Week 4 was all about alchemy & using household items e.g. bleach, lemon juice, cling film etc... I did get very messy with the shaving foam, I even turned the bath water an aqua colour (!), so it was just as well I had had that before skinning my husband's smoked mackerel for dinner. There are, however, some suspiciously green stains on the tea towels after the evening's drying up.

(click on images to enlarge)

Bleach & Colour
Stamp: Elusive Images
Image heat embossed in gold, selected areas bleached & some coloured 
using  Daler-Rowney Artists’ Watercolour Pencils

Stamp: Elusive Images
Inks: Distress Inks (Dried Marigold, Mustard Seed, Peeled Paint)
Image heat embossed in silver, selected areas bleached & coloured using Distress Inks


Colour then Bleach 
Stamp: Elusive Images
Inks: Distress Inks (Broken China, Tumbled Glass, Weathered Wood), VersaFine (Onyx Black)
Background inked, image stamped & selected areas bleached 

Stamp: Elusive Images
Inks: Distress Inks (Dried Marigold,  Mustard Seed, Wild Honey), VersaFine (Onyx Black)
Background inked, image stamped & selected areas bleached with some coloured using Distress Inks


Lemon Juice Project
see HERE for details


Shaving Foam Background
Stamp: Elusive Images
Inks: Assorted Fountain Pen Inks
Text heat embossed using PearLustre Alexandrite Embossing Powder


Cling Film Background
Stamp: Hobby Art
Inks etc... Distress Inks (Aged Mahogany, Barn Door, Fired Brick), Perfect Pearls (Interference Red)
Image heat embossed in silver & coloured with Sakura Stardust Pens & Stickles Glitter Glue 

Thursday, 2 December 2010

Lemon Juice Goes Christmas Waltzing With Joy

front of card 

close-up showing lemon juice stamped image

 & textured russet cardstock


close-up showing lemon juice stamped sentiment

inside of card


close-up showing textured white cardstock & 
red Mirri card of message panel

I had not intended doing these challenges yesterday – in fact the Keep it Simple! challenge was not one of which I was aware until I was looking for something else, stumbled across it & explored as I’m becoming more & more interested in the “Less Is More” concept when it comes to design & style. There is a place for cute & coloured images within this but also for the non-cute & the more traditional. I like both & am still quite new to the former.

It seems that the Waltzing Mouse Sketch Challenge lodges in my brain each week & makes itself known at a point when I am doing something else, whether crafting or looking at stamps etc…   I was mounting my Lemon Juice Project for the Terrific Techniques “homework”  this morning when the Waltzing Mouse sketch came to mind &, quick on it’s heels, that I’d seen something about JOY & that that would be perfect for a circular sentiment panel. I had actually dismissed the Keep it Simple! challenge as I didn’t think it would apply to me for Challenge 1 stated "The basic idea is to make a clean, stylish and simple card using our theme to inspire you in 30 minutes or less!". I can never make a card in that period of time but,
looking at the current Design Team samples, it seems to me that it is a case of what can be interpreted as Clean & Simple in appearance. Hopefully I'm not wrong for I was really inspired by what I saw. 

The flower & the sentiment were stamped using lemon juice in place of ink. A hot iron was then applied to activate the juice in order for the imprints to appear.


Recipe
Stamps Elusive Images UA4SP0185 Fantasy Floral (image), Elusive Images UA6GW0211 Celebrations Alphabet (text).
Inks Distress Ink (Scattered Straw) for inking various cardstock edges.
Cardstock Assorted reds & golds in various finishes & textures plus textured white from "stash"; pearlescent white from Crafter's Companion Special Effect Card Pack.
Punches Woodware (circles & scalloped circles, flower), Fiskars (Lace ornate corner).
The gems are Kanban & the button is from "stash".


Challenges Entered
Waltzing Mouse Sketch Challenge 25 - WMSC 25 (see above) 
Keep it Simple! - JOY (see above)

Sunday, 21 November 2010

Tent Card With Poise & Joseph's Coat

There were quite a few hurdles in the making of this, any one of which would have prevented my posting the completed card, & I'm still a little unsure of the finished article.

Initially I used Distress Inks to cover the brayered base card after heat embossing the stamped image (Joseph's Coat Technique) but they were not strong enough to cover the bright greens, so I tried Brilliance Starlite Black, that didn't work either. Thinking logically: if the brayering onto glossy card was with dye inks, the Distress Inks (dye, but with their own unique properties) were not dense enough & the Brilliance (pigment) which normally copes with most surfaces wasn't great, might a "normal" dye ink work? I tried the All Night Media Dye in black - several hours later it was still rubbing off onto my fingers. Knowing that I might wreck my heat embossed image completely in the process, I used my heat gun briefly to heat set the black ink. It worked. The final hurdle was photographing the Mirri card!

card standing

close-up of image showing Joseph's Coat Technique,
 lime Mirri card & texture of blue cardstock

inside of card showing texture & paper piercing 
on blue cardstock plus stamped swirl edging
(click on image to enlarge)

Recipe
Stamps Sugar Nellie Leanne Ellis Poise (image), Elusive Images UDLSP0220 Dawn Chorus (swirls). 
Inks Kaleidacolor Caribbean Sea, Chipped Sapphire & Black Soot Distress Inks (see above), Brilliance Starlite Black (see above), All Night Media (Black), VersaMark watermark ink pad & Stewart Gill Ultrafine Embossing Powder, VersaFine Majestic Blue (swirls).
Cardstock  Moondust Silver,  textured blue,  lime Mirri & pale green from "stash".
Punches, Dies etc...  Woodware (Scalloped Circle, Scalloped Oval & Scalloped Square).
Pearls Kanban.
Ribbon from "stash".

Challenges Entered
Crafty Creations Challenge 94 - Beautiful Insides

Thursday, 18 November 2010

A Twist of White Resist Waltzes With Sparkle

front of card

close-up of image photographed at an angle to show
sparkle of coloured scrollwork & necklace plus heat embossing

close-up showing White Resist detail

inside of card showing stamped edges & chandelier
corner plus texture of message panel

I can't remember whether it was the corner stamp that suggested the Waltzing Mouse Sketch Challenge or the sketch that suggested the stamp, however, I think these were made for each other. This particular Challenge coincided with my getting to the first week of the second set of MCC coursework (I'm still catching up, & - although it means the coursework takes longer - I like the fact that I see ways in which to incorporate the new techniques for Challenge projects). I tweaked the background White Resist technique somewhat: after I'd used Distress Ink to cover my white stamping of the chandelier & had  lightly rubbed off the excess I gently dabbed the whole with a wet wipe - that softened & blended the red a little. It was one of those "on the spur of the moment" actions that worked, often they don't & end up in the bin.

Recipe
Stamps Elusive Images UA5SP0340 Belle of the Ball.
Inks etc... ColorBox (Frost White), Brilliance (Graphite Black), Barn Door Distress Ink, VersaMark watermark stamp pad & Stampendous Detail Black Embossing Powder.
Colouring Sakura Stardust Pens.
Cardstock Black, textured white, & Moondust silver from "stash".
Punches Woodware (Circle & Scalloped Circle).
The bradgems & ribbon are all from "stash".

Challenges Entered
Waltzing Mouse Sketch Challenge 23 - WMSC23 (see above)
Simon Says Stamp - Sparkle with optional extras (I used the optional extra of heat embossing for the stamped corner image; both the black embossing & the Sakura Stardust colouring of the scrollwork sparkle as does the silver Moondust cardstock used for the inside)

Sunday, 14 November 2010

Tealight Candle & Internal CAS Firsts

The All Things Sugar Nellie Forum Challenge this week is to make a Tealight Candle Card. I have never made one of these before & went in search of a tutorial in imperial measurements as the US members of the forum - who work in inches - had requested this rather than the centimetres that the European contingent utilize. I tend to work in either - though I calculate layering measurements more swiftly in metric. I used the imperial measurements from this tutorial to construct my card. The holographic Mirri card made photography extremely difficult as did the shiny nature of the gift wrapping ribbon. Another first was my stamping the sentiment directly onto the card base. For the internal decoration I tried using punched panels in my normal fashion & also covering the white cardstock with patterned paper; I even considered stamping a candle image in place of the punched snowflakes but whatever I did just looked "fussy". Eventually I settled upon this "less is more" approach".


front of tealight candle card, the snowman pattern
 of the base cardstock is just visible

close-up of image panel showing dry embossing
of holographic gunmetal Mirri card

inside of card showing sentiment &
layered snowflakes

close-up of sentiment

close-up of layered snowflakes

Recipe
Stamps Sugar Nellie Elisabeth Bell Partridge in a Pear Tree (image), Elusive Images UDLSP0335 Light of Christmas (sentiment).
Inks Versafine Onyx Black.
Colouring Derwent Coloursoft Pencils, Paper Stumps & Sansador plus Sakura Stardust Pens for bracelet & ornament (image); Whispers Strokes Marker (sentiment).
Cardstock Snowman patterned, Holograhic gunmetal Mirri, light & dark blue from "stash".
Punches, Dies etc... Woodward (scallpoped oval, snowflakes), Cuttlebug Embossing Folder (Swiss Dots).
The gift wrapping ribbon & star sequins (on snowflakes) are from "stash".


Challenges Entered
All Things Sugar Nellie (Paper Craft Planet) Wk 29 - Tealight Candle Card
Lili of the Valley Challenge 73 - Anything Goes (normally I would use a LOTV image but LOTV specify that "for ONE WEEK ONLY you can use ANY MAKE OF STAMP OR DIGI IMAGE")