PEP tangles - my Zentangle Inspired Art blog

Monday, 30 April 2012

MCC Card Design Workshop Wk 2 - Serendipity Squares & Apprenticeship

Links: Glenda Waterworth, My Creative Classroom (MCC)

When I'm working through the optional exercises I often find I am surprised by my own reactions. The making of Serendipity Squares & a Grid Layout was a case in point. On the face of it sticking scraps of paper down & stamping over them doesn't seem terribly onerous or exciting, but it was certainly a challenge for me. I think RANDOM was a word that bypassed my vocabulary for there I sat having retrieved all the offcuts of paper from the various packets that they "belonged" to & had to resist the urge to sort them into piles of colours. It was actually quite relaxing just taking the pieces any old how & creatively utilising those scraps proved extremely satisfying. I did apply a little choice in my final grid arrangement - placing a lilac cornered square into each of the grid's corners.

front view 
angled view showing sparkle & dimension
Choosing a design to analyse & make my own version of brought to mind how an artist used to learn his craft by serving an apprenticeship & copying his Master's work. Knowing that certain elements are required for a design to be successful is all well & good but it is through recognising, applying & physically creating those elements that real understanding comes.

I recently came across Debbie Martin's card (see immediately below) using Pan Pastels & remembered being struck by the way the chequered arrangement of her colours was echoed by not only the actual harlequin stamp pattern but its diagonal placement.

Debbie's original
 sketches showing how the eye moves
 in response to the design elements
The asymmetrical variation of the layered flower & the corner swirl, in what is basically a symmetrical layout with a central focal point, causes the eyes to pause so as to read the sentiment & not merely to skim over it. Moreover, the layered flower also acts to draw the eye to focus on itself & then leads down along the swirl to the harlequin daisy arrangement, onto the left of the corner swirl, moves right & up along the opposing swirl into the other harlequin daisy pattern &, exiting via the top double daisy arrangement, drops to the sentiment panel.

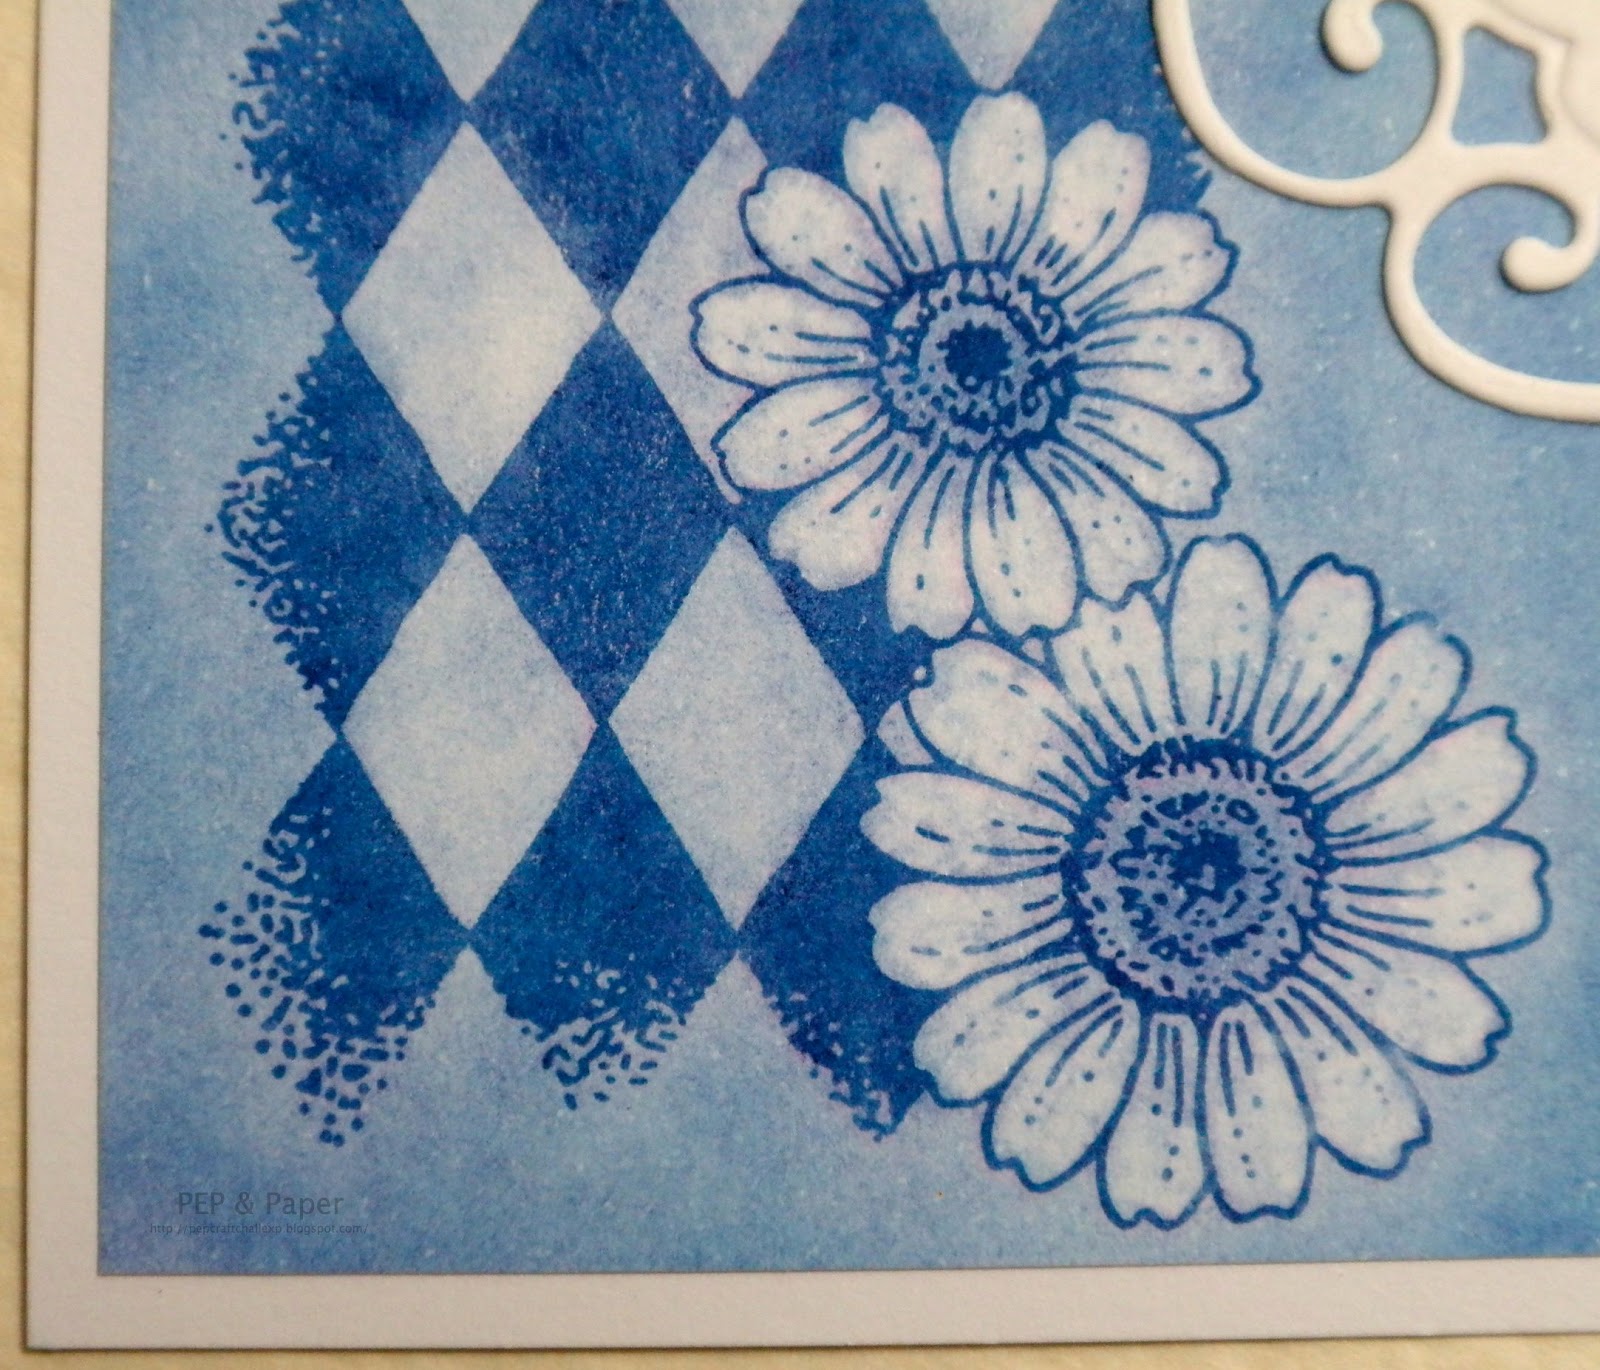
As I don't have any Pan Pastels I had to experiment a little to find a medium which would allow the removal of some of it in order to achieve Debbie's subtle whitening of the flower petals. Distress Inks on watercolour paper were too vibrant but I have several brands of barely used chalks which I purchased during my initial crafting enthusiasm. I tried using those stamping with VersaMark, dabbing with the chalk applicator, erasing (Derwent battery eraser) & fixing with cheap hairspray. This led to my discovering that there are chalks & CHALKS; the cheaper ones were gritty & didn't cover as well as the more expensive creamy Pebbles Inc. which I ended up using as I loved the results. I also improvised with my sentiment & die-cuts as I had neither of those that Debbie used. Additionally I varied my version by changing the flower & layering it differently plus I swapped the colours about.
I'd like to thank Debbie for allowing me to use her artwork for my exercise.

front view
close-up showing detail of petals from which colour
was lifted
close-up of layered flower showing dimension &
colour lifting on petals


Recipe
Stamps Chocolate Baroque UA4SP0146 Big Flowers (layered flower), UA4SP0237 Butterfly Daisy Collage (daisy harlequin & corner swirl) & UA5GW0360 Words of Comfort & Cheer (sentiment).
Colouring Pebbles Inc. Chalks (Basic Brights).
Inks VersaMark watermark stamp pad, Memories Dye Black (sentiment).
Die Marianne Designs Creatables LR0116 Frames & Swirls.
The white cardstock & green pearl were from stash.

Monday, 23 April 2012

MCC Card Design Workshop Wk 1 - Mood Board

Links: Glenda Waterworth, My Creative Classroom (MCC)

I struggle with card or tag design & even when I'm provided with a sketch I find it very difficult to choose colours & assemble something that looks pleasing - it easily takes me a week of trial & error (bin filling) to produce one item. I often have to just start with an idea & see what happens. Hence, having learnt so much from Glenda's previous MCC classes, this workshop seemed an ideal opportunity to learn a more structured & informed approach to my creating.

The optional homework for the first week has included the compiling of a Mood Board - not something that I have ever attempted before but quite enlightening. I don't naturally gravitate to using patterned paper so I decided to take an offcut left over from my "J" Alphatag (to be posted in due course) as my starting point. Dating from my initial inkpad purchases (2008) I have some ColorBox Pigment & Chalk "Cat's Eyes" that I tend to forget about so I selected colours to match the paper from amongst those to stamp some egg images which were labelled with tag swatches. Selecting & placing the remaining items - ribbon, gems & punched shapes became very interesting because I was surprised by my own reaction when I placed some of the pink butterflies onto the green cardstock - there was too much contrast so I moved them to the pink/brown/cream area.

 Mood Board (A4 in size)
upper section of Mood Board
lower section of Mood Board

Recipe
Stamp Chocolate Baroque UA5SP0386 Easter Traditions.
Inks An assortment of ColorBox Pigment & Chalk "Cat's Eyes."
Cardstock An assortment of colours in various textures & finishes from stash.
Paper Graphicus Guild Membership Pack
Punches CarlaCraft (leaves), EK Success (large flowers), Woodware (butterflies & medium flowers), Xcut (tags & small flowers).
The ribbon, gems & sequin are from stash.

Thursday, 12 April 2012

Immortal Imagery & Iconography Alphatag

I cannot remember when my delight in peacocks began but I recently decided to research their symbolical meaning when used in artwork &/or architectural ornamentation. I was astonished to discover that the early Christians adopted the peacock as a symbol of immortality because by shedding its feathers annually & replacing them with brighter ones the bird represents the resurrection of Christ. There was also an ancient legend that peacock flesh does not decay after death. Having imagery & iconography in my head not to mention immortality plus the current Christian festival of Easter  it seemed logical to work with these ideas for my Baroque Guild "I" Alphatag. I inadvertently used the Imperial purple but it is rather apt.

front of tag
close-up of upper section showing stamped text, small
heat embossed cross & sequin embellishment 
close-up of central section showing gold peacock
overstamping of patterned paper 
close-up of lower section showing heat embossed
large cross & "I" plus die-cut corner embellishment
back of tag showing tone
on tone stamping
close-up showing paper pierced scallops
& inked edges of theme panel

Recipe
Stamps Chocolate Baroque UA5SP0386 Easter Traditions (crosses & text), UA4SP0183 Peacock Fan (peacock) & UA4SP0171 Peacock Glory (feather); Elusive Images UDLHC0181 Sketchy Alphabet (letter "I").
Inks Memento Grape Jelly (text, tone on tone stamping & inking various cardstock edges); Encore Gold (peacock); Emboss Tinted Embossing Stamp Pad with Stampendous Detail Gold Embossing Powder (crosses & letter "I").
Pens etc...  Staedtler Triplus Fineliner.
Cardstock Gold & an assortment of purples in various finishes from stash.
Paper Graphicus Guild Membership Pack.
Dies Sizzix Movers & Shapers L Die - Tag & Bookplates, Cuttlebug Vintage Corner.
Punch Woodware (scalloped rectangle).
The gem, brad, sequin leaves & ribbon are from stash.

Friday, 6 April 2012

Honour & History in Heraldry Alphatag

My "H" Alphatag for the Baroque Guild swap incorporates the idea of honour in the form of a knight being both an honourable person & being honoured by a monument after death, for example in the form  of a stone, marble or brass effigy. Although I've not been able to identify the particular knight in my stamped image he is most likely a monumental effigy, probably brass, in some cathedral or church, though I have coloured him to represent stonework (rather fittingly sponging with Pumice Stone Distress Ink).

front of tag
close-up of upper section showing gold script
overstamping of patterned paper
close-up of central section
close-up of lower section showing heat
embossed shield
back of tag
close-up showing paper piercing of theme panel

close-up of knight
Recipe
Stamps Chocolate Baroque UDLGW0010 Medieval Heraldry.
Inks Memories Dye Black (knight & inking edge of tag); Black Soot (for inking various cardstock edges) & Pumice Stone (sponging knight) Distress Inks; Encore Gold (script & inking some cardstock edges); Emboss Tinted Embossing Stamp Pad with Stampendous Detail Gold Embossing Powder (shield).
Pens etc... Signo uni-ball gold gel pen.
Cardstock White & black from stash.
Paper Graphicus Guild Membership Pack.
Die Sizzix Movers & Shapers L Die - Tag & Bookplates.
Punches EK Success (fleur-de-lis), Woodware (scalloped oval).
Pearls Papermania.
The gold mesh & black ribbons are from stash.

Pergamano Embossing Pad, a
selection of ball tools & Perga Soft
Challenge Entered
Simon Says - use your FAVOURITE tool!
I have quite a few favourite tools but in the end I decided to pick the tools I use for shaping cardstock & neatening cut edges. Bev Rochester was the first person I came across using a ball tool for shaping flowers & neatening any roughly cut edges of cardstock. More recently I discovered Debby who rarely makes a card without shaping layers. Over time I have gathered a little bundle of tools (pictured) which are in constant use. Initially I used candle wax to "lubricate" the ball tool but being greasy it makes any edges a little difficult to ink.
close-up showing shaping of stamped image

Tuesday, 20 March 2012

Grammar & Gold Alphatag

The third of my Alphatags (the letter "G") for March's Baroque Guild swap is a long way from the greens, grasses & gratitude I started out with.

Having exhausted all my ideas with the above - none of which I was happy with - I kept coming back to the word grammar. It's not suprising for my husband has a passion for ancient greek & also architecture both of which involve grammar of one kind or another, plus I have several books by Owen Jones concerning the grammar of ornament.......... One thing led to another & my tag became an expression of various aspects of grammar, including plainchant musical notation, using a number of Chocolate Baroque stamps.

front of tag 
close-up of upper section 
close-up of lower section
close-up showing texture of hammered gold cardstock
used for mounting dictionary definition 
back of tag 
close-up showing paper piercing of theme panel
& inking of the various cardstock edges
The various images were stamped in Vintage Sepia, Rich Cocoa & Vintage Photo using the masking technique & inserting portions of the musical stamp to create edges for the various elements. The different sections were sponged with an assortment of Distress Inks & the bottom left gated arch dabbed with water to create the appearance of aged papers. Encore Gold was used for edging cardstock & the dictionary definition was cut out of an old dictionary which had been destined for a skip.

Recipe
Stamps Chocolate Baroque UA4SP0365 Echoes of Italy (gated arch), UA6GW0350 Mini Scripts (texts), UA5SP0363 Musical Fanfare (music) & UA4SP0371 Texture Fragments (ornamental stonework).
Inks Encore Gold; Memento Rich Cocoa; VersaFine Vintage Sepia; Antique Linen, Old Paper, Pumice Stone, Scattered Straw & Vintage Photo Distress Inks.
Marker Staedtler Triplus Fineliner.
Cardstock White, cream & hammered gold from stash.
Die Sizzix Movers & Shapers L Die - Tag & Bookplates.
Punch Woodware (scalloped squares).
The brads are from stash & the distressed seam binding was a gift.

22/3 ETA
The seam binding was distressed by Bev Rochester as in her tutorial HERE.

Monday, 12 March 2012

Fluttering Fritillary Flourish Alphatag

I have based the second of my three Alphatags for March's Baroque Guild swap upon the Fritillary butterfly. It is not that easy for a non-specialist like myself to identify the species of butterfly in any particular stamp but I did try to select a stamp from amongst the Chocolate Baroque butterflies which seemed to approximate the Fritillary's markings & wing shape. Their colouration tends toward the red-orange-yellow section of the colour wheel & I coloured my two butterflies accordingly using artistic licence so as to produce 'Fritillary-type' butterflies.

front of tag 
close-up of larger butterfly showing shaped wings
& sparkle of glittered body 
close-up showing smaller butterfly & background 
back of tag showing tone
on tone stamping
close-up showing paper pierced scallops &
inked edges of theme panel
In the last two photos the dark cardstock is a very deep chocolate brown with VersaFine Vintage Sepia stamped flourishes & the lighter cardstock is a pale cream.

The background was created by lightly sponging Antique Linen Distress Ink in repeated layers using a mask for selected areas & layers. The image was stamped twice so that the butterflies only could be cut out, coloured a second time & then shaped prior to attaching to the whole image. The back is my usual tone on tone stamping using a co-ordinating stamp from the same set.

Recipe
Stamps Chocolate Baroque UA5SP0357 Butterfly Flourish Swirls.
Inks VersaFine Vintage Sepia (butterflies & flourishes); Antique Linen (sponged background) & Tea Dye (inking various cardstock edges) Distress Inks.
Colouring Faber-Castell Polychromos Pencils with paper stumps & Sansodor; Ice Stickles Glitter Glue (Gold Ice).
Marker Staedtler Triplus Fineliner.
Cardstock White & assorted colours in various finishes from stash.
Mask Tim Holtz idea-ology - Floret.
Die Sizzix Movers & Shapers L Die - Tag & Bookplates.
Punch Woodware (scalloped squares).
The gems are Anita's & the cord is from an old embroidery kit.

Sunday, 4 March 2012

Ethereal Enchantment Alphatag

This is the first of my three Alphatags to be submitted for the Baroque Guild Swap this month. The full title is "Ethereal Enchantment with an Elegantly Embossed Emerald Elf" but that was a bit of a mouthful for my blog post heading let alone writing it to fit onto my theme panel.

front of tag
angled photo to show
sparkle of snowflakes 
close-up of elf showing dimension of her
double embossed body & dress
back of tag showing
tone on tone stamping
close-up showing paper pierced
scallops & inked edges of theme panel
The scene was created by heat embossing the trees & butterflies with clear embossing powder, likewise the elf (but using a green embossing powder & embossing the body plus dress a second time so as to give them greater definition & depth of colour) prior to sponging the background with the various Distress Inks. The clear embossing was then ironed off & the snowflakes stamped & heat embossed (this time using a sparkly transparent powder) whilst being very careful to avoid flattening the embossing of my elf through overheating. A few flattened elves now reside in the bin but I certainly practised my sponging techniques in the process.

The back was decorated by simply repeat stamping the tree image using the Emboss Stamp Pad & allowing it to dry giving a tone on tone effect.

Recipe
Stamps Chocolate Baroque UDLSP0227 Dragonfly Faeries (elf & folded wings butterfly), UDLSP0226 Gossamer Wings (extended wings butterfly), UA5SP0252 Tall Trees (trees) & UA6SP0267 Winter Wonderland (snowflake).
Inks  Antique Linen, Bundled Sage, Old Paper & Shabby Shutters Distress Inks (sponged background); Brilliance Pearlescent Ivy for inking various cardstock edges; Emboss Tinted Embossing Stamp Pad with Stampendous Embossing Powders (Detail Clear - trees & butterflies, Emerald Green - elf & Stardust - snowflakes).
Markers VersaMarker Watermark Pen. Staedtler Triplus Fineliner.
Cardstock White & assorted greens in various finishes from stash.
Die Sizzix Movers & Shapers L Die - Tag & Bookplates.
Punch Woodware (scalloped rectangle).
The ribbon is from stash.

Challenges Entered
Allsorts Week 144 - Spread your Wings
Flutterby Wednesday 192 - Open but must include a butterfly, fairy or angel
Simon Says........ ANYTHING GOES!
Penny Black & More @ Allsorts - March: Springtime