I sat last night scrolling through my blog to pick 5 for Debby's Favourite Five of 2010; this is the selection I decided to sleep on & review this morning with some comments added.
 Unconsciously I chose only one image that I had actually coloured. Not that I didn't colour - it's just that it seems they weren't amongst my favourites. Now psychologists would have a field day with this - but............ it does actually reflect where I'm at in crafting terms. It was February last year that I first discovered artistic/realistic colouring (light, shade etc.....). During the past year I have spent hours sitting colouring with different mediums (media?) but still do not have any theoretical understanding - so that is what I shall tackle this year. I already have some of Suzanne Dean's Classes that I am enrolled for on line & have collected sufficient Copics colours now to do that justice & give it the time due to it. I was given these for my birthday last August & had to put them on hold whilst we organized my computer & the MCC Stamping Techniques opportunity presented itself to be completed within a specific time frame. With the techniques classes completed & enough computer skills to get by I can now tackle this.
This was the first stamp that I won upon discovering blogland - fittingly it is a Sugar Nellie whose advert in the Feb 2010 Craft Stamper caught my eye & it was following that up that led to my discovering images, colouring...... The rest is history.

details HERE
The other company I learnt much from was Whiff of Joy. I was given this Melinda stamp & love using it. I spent hours colouring this image & I lost count of how many I ditched - this one included when it didn't fit my first colour scheme but I kept it as I thought the colouring was good enough to do something with. I later used it for this card which I ended up being particularly pleased with.

details HERE
This I think is my all time favourite card. There's just something about Leanne Ellis' Alice in Wonderland image with the caterpillar body, Alice head & rabbit's Top Hat juxtaposed with the different white textures & various golds.

details HERE
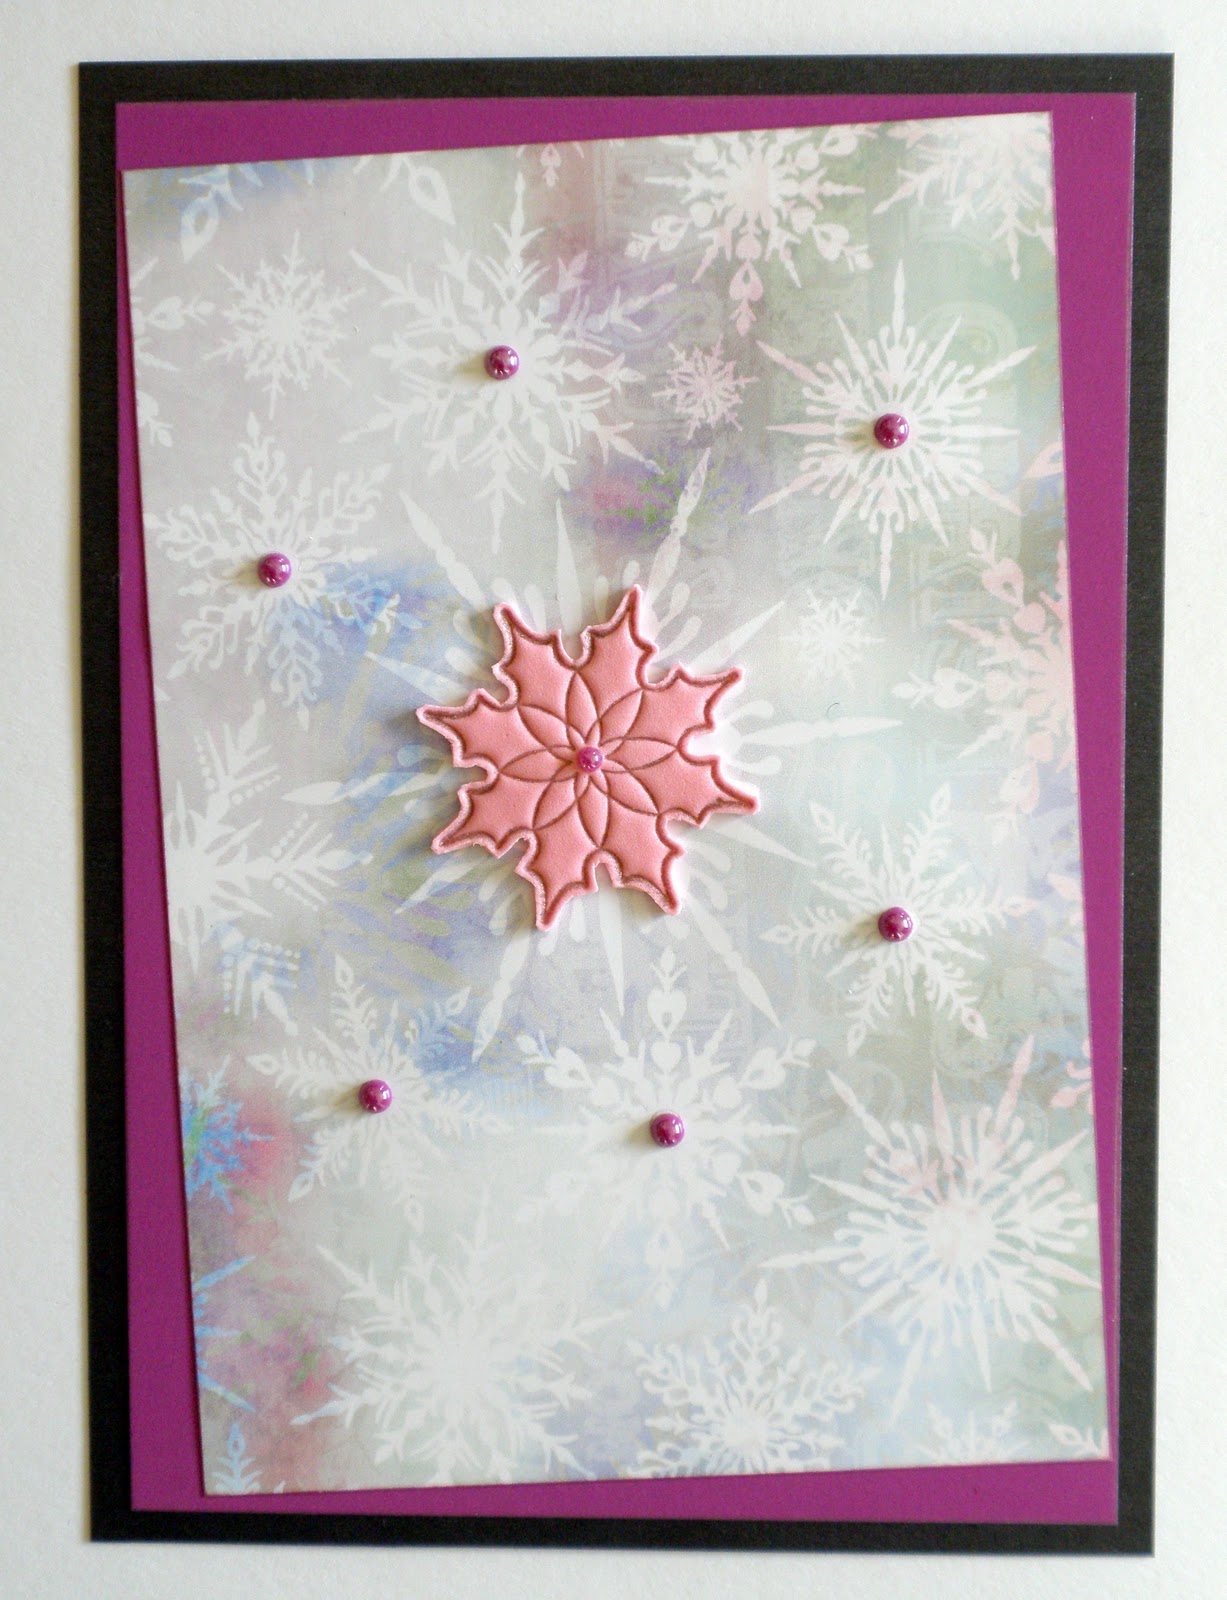
With this one it is the stamped chandelier White Resist background that I was particularly pleased with.

details HERE
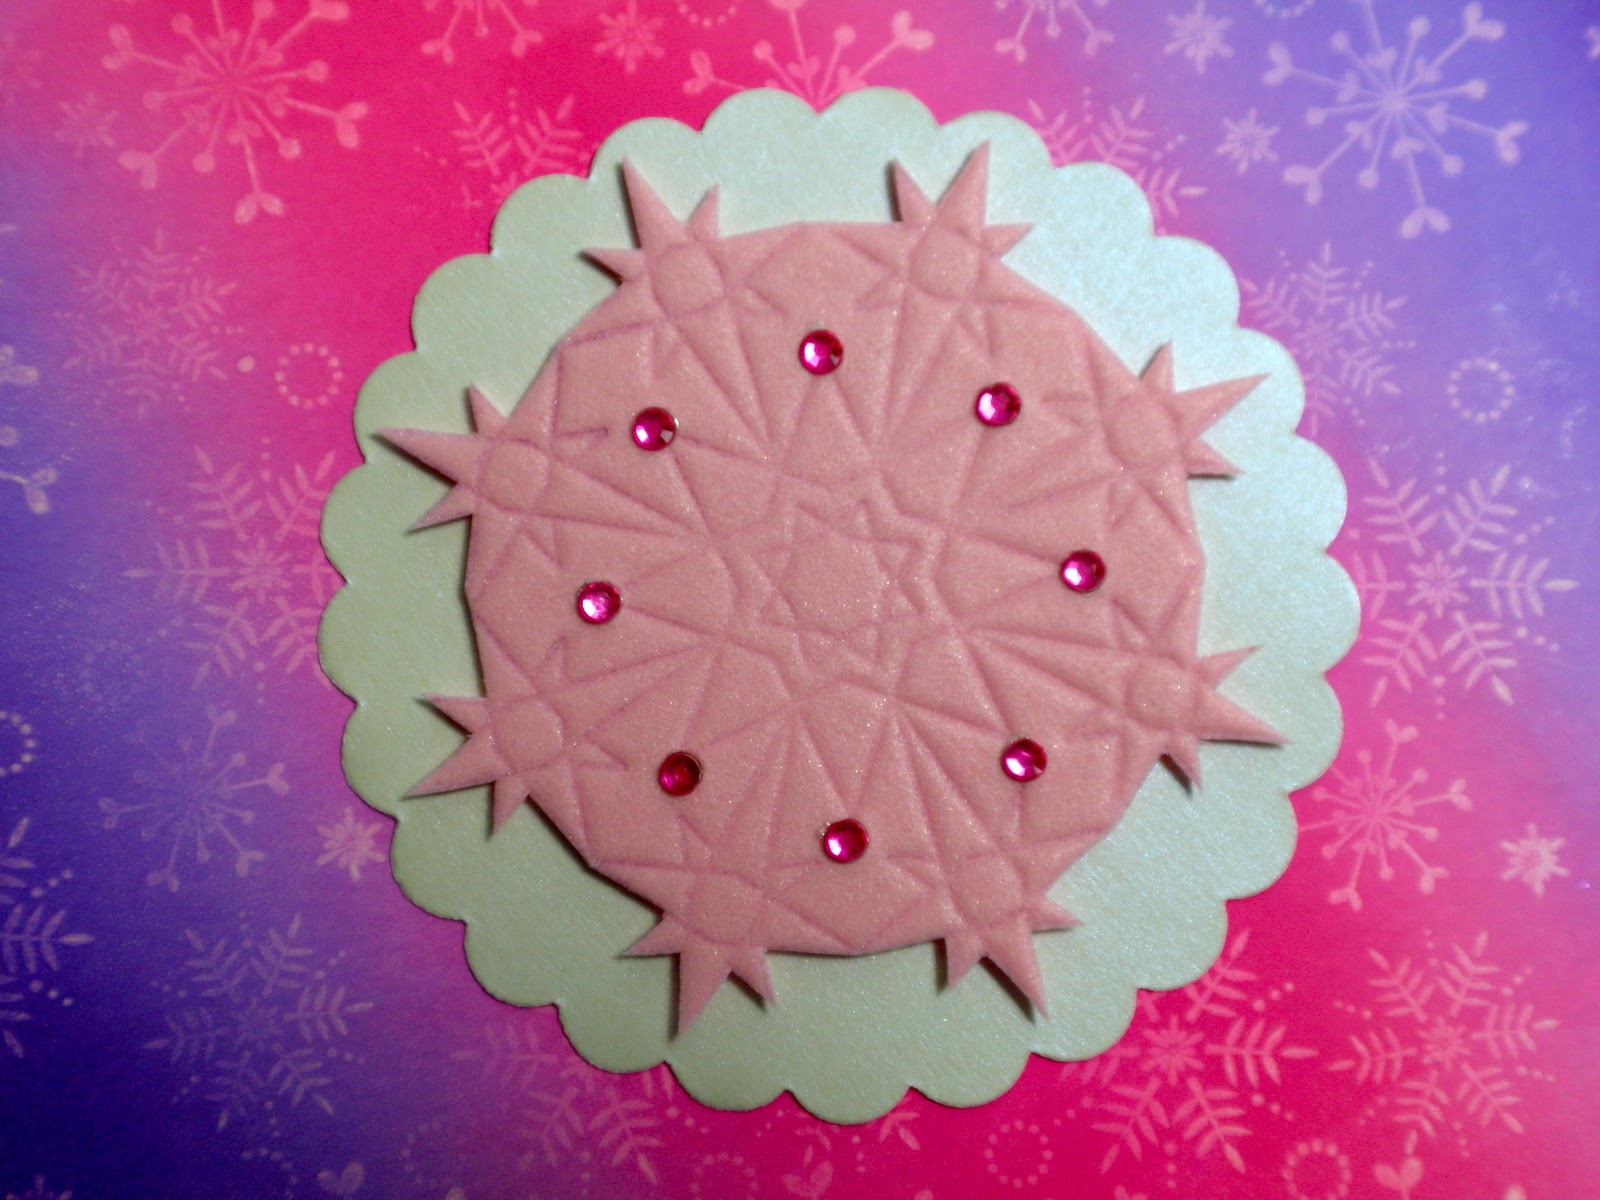
Another of Leanne Ellis' distinctive Sugar Nellie designs that took on a life of its own when I made this Tent Card with her - it's the way the pearls fitted into the scalloped edges of the design that delighted me. I also had to work quite hard at solving the problem of finding an ink that would cover the brayering of the Joseph's Coat Technique.

details HERE


