I haven't tackled any computer graphics yet so my diagrams are hand-drawn but you can click on the images to enlarge & hopefully in conjunction with the photos they will make sense. If you have any questions please just ask. I find it useful to initially make up anything new or unusual using ordinary copier paper, which is what I have used in the photos below.
1. Cut a piece of cardstock to 5 x 11½ inches.
2. With the short side to the left score vertically at ¾, 1½, 2½, 3½, 4¾, 6 & 8¾ inches.

3. Mountain fold the unbroken lines (at ¾, 2½, 4¾, & 8¾ inches).
Valley fold the broken lines (at 1½, 3½ & 6 inches).

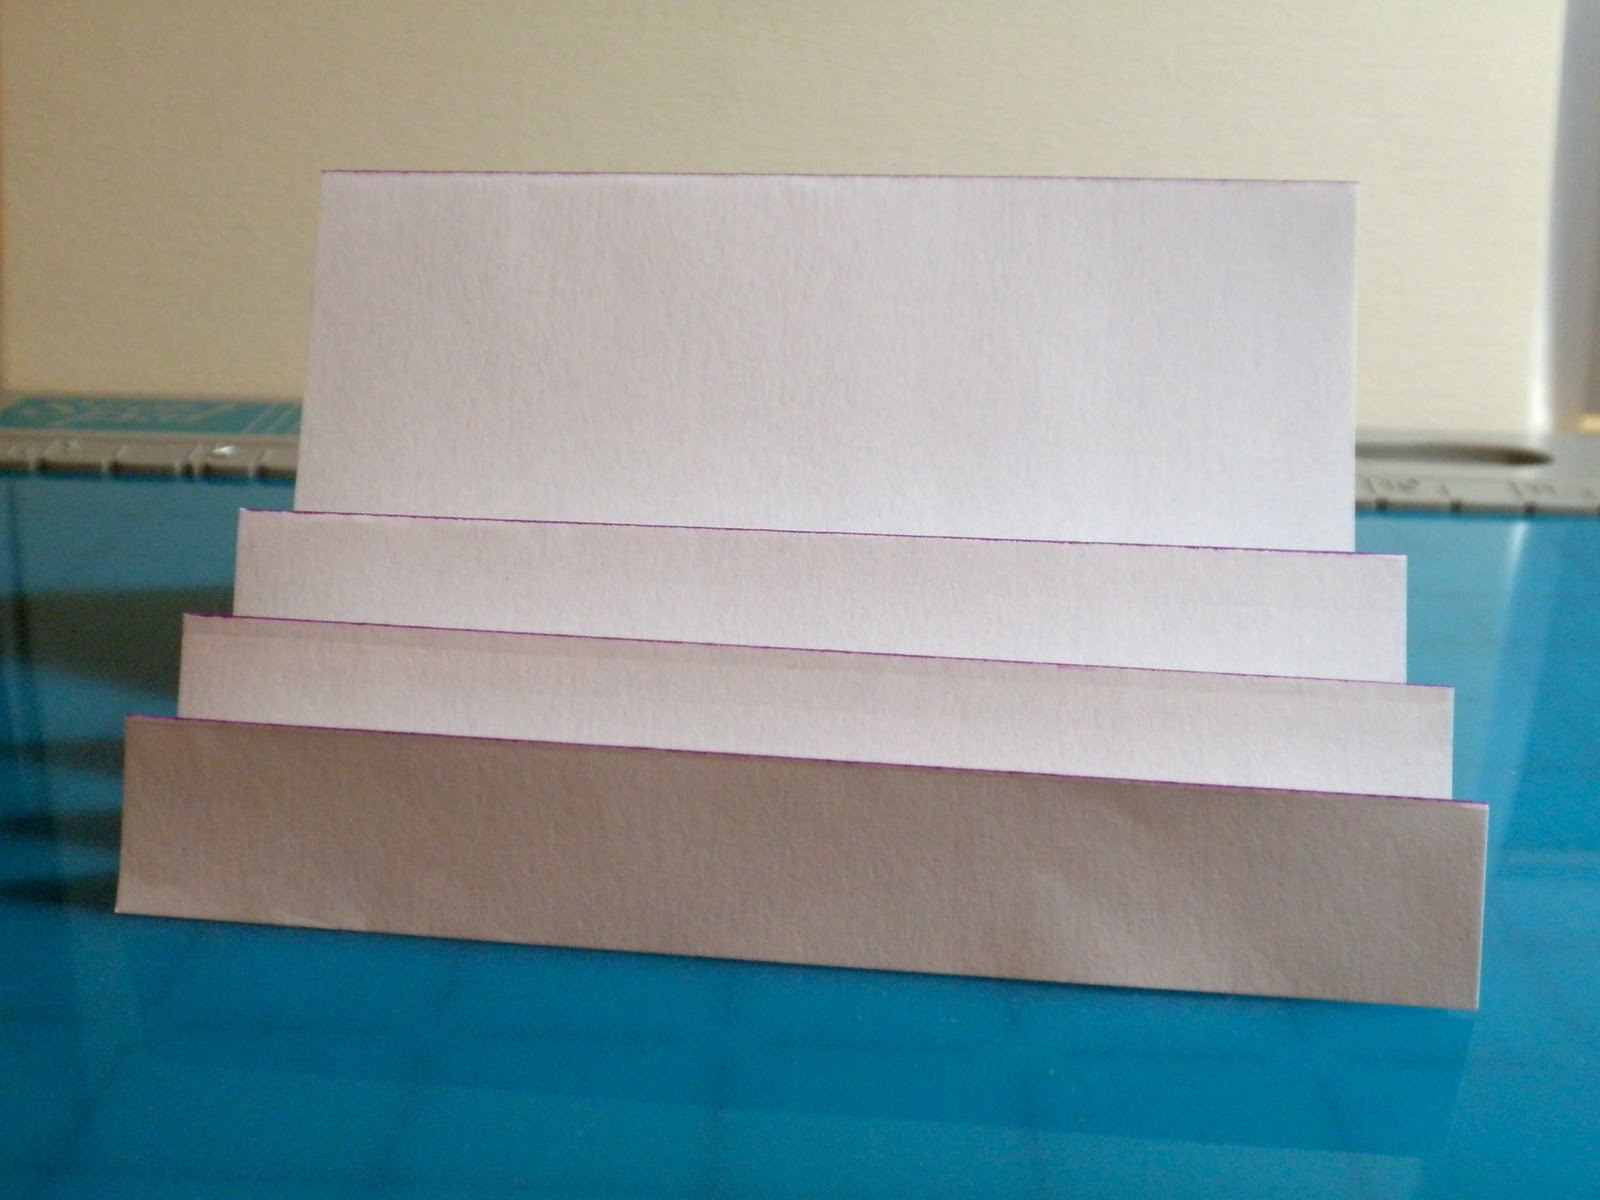
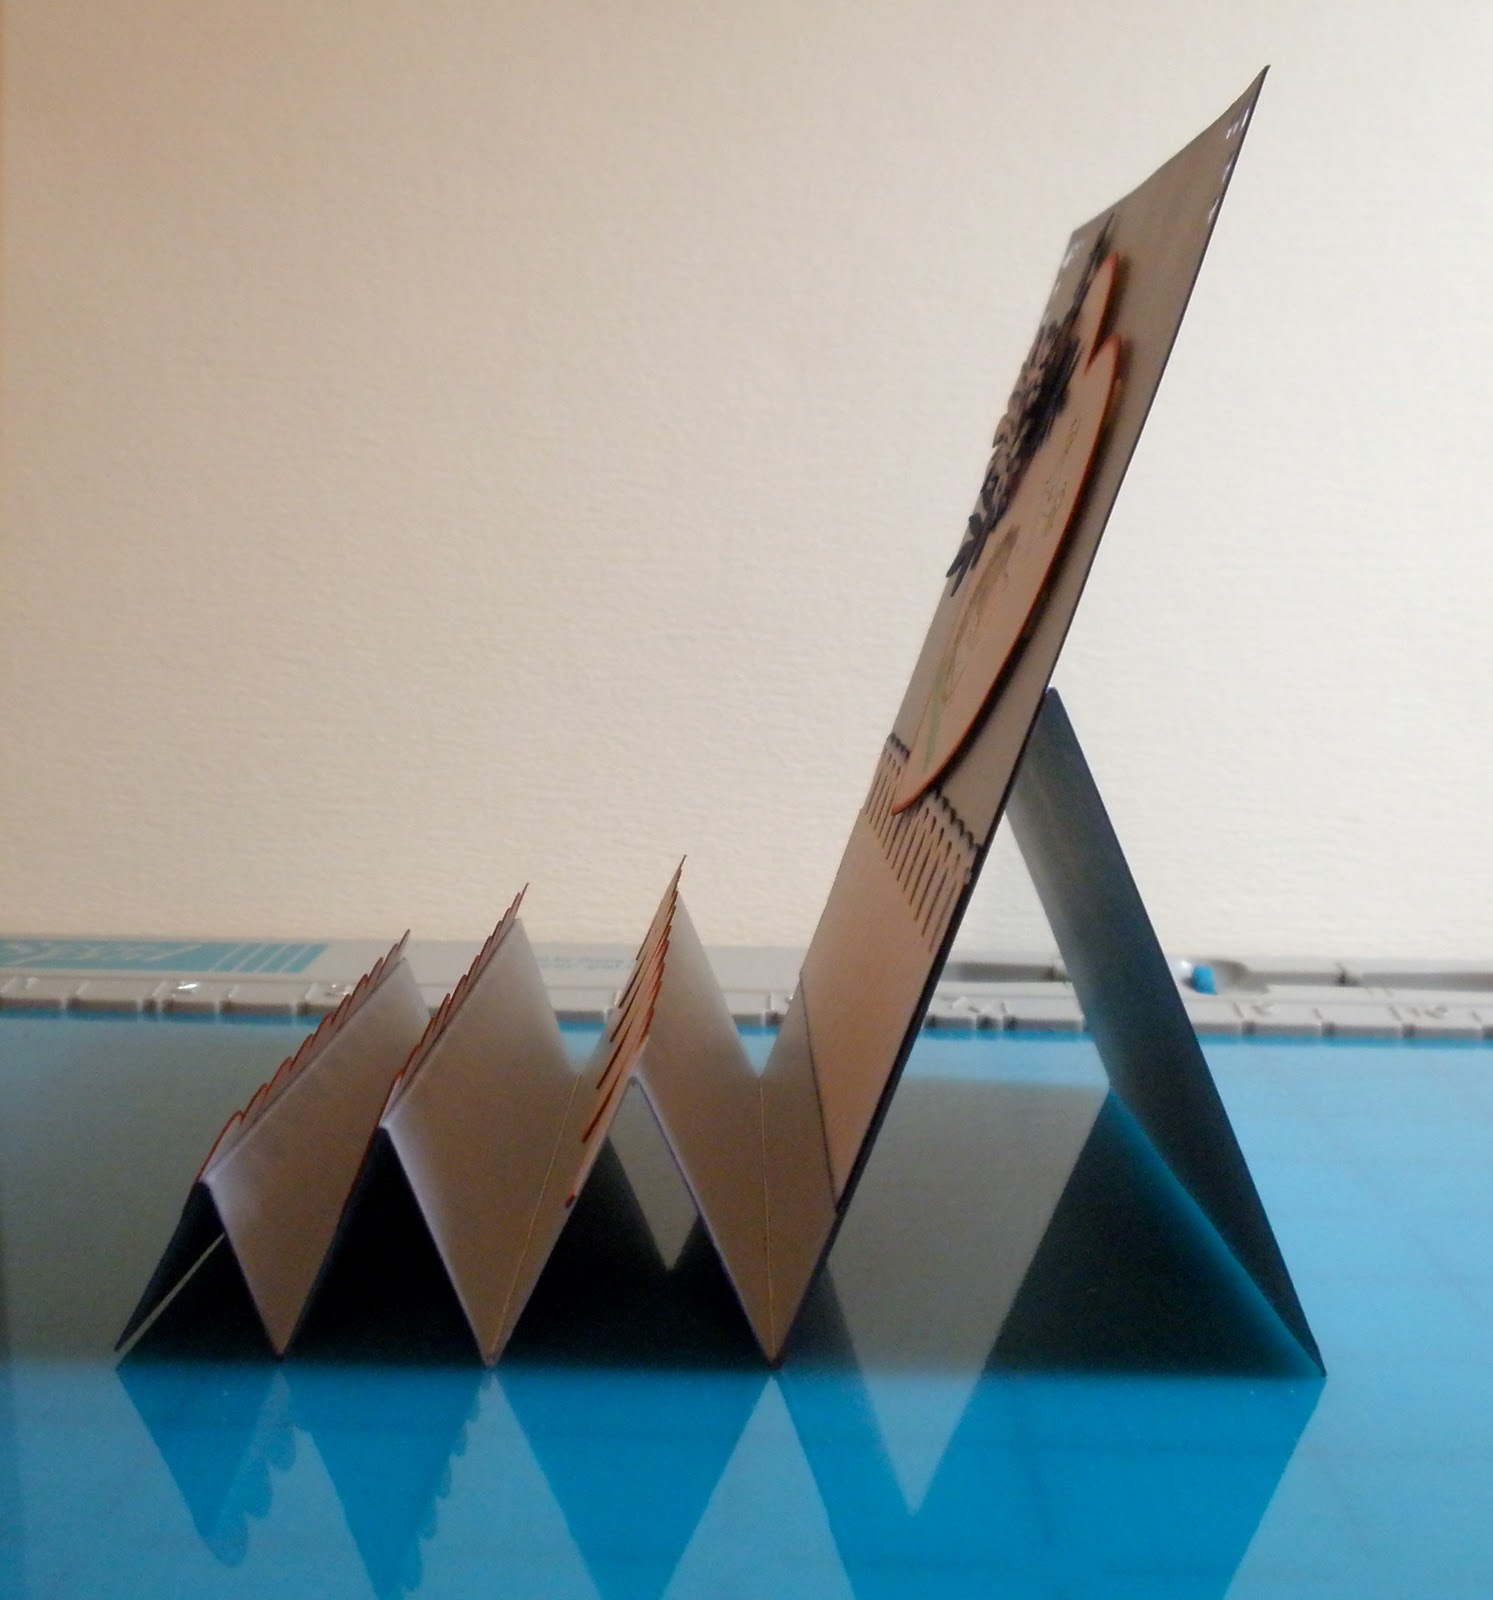
4. This is the basic frame which can then be decorated as desired.
5. The 5 inch measurement can easily be adjusted as I did with mine to accommodate exactly 5 hearts so
my width was 4 & thirteen sixteenths of an inch. The back panel I decorated & secured to the last
step was this width & 5 inches in height.

I was mid-project on Sunday when my husband brought me a mug of coffee - confronted by the chaos on my bench he suggested I take a photo & post it on my blog, so ...........

Hej Paula :)
ReplyDeleteTack för denna väldigt användbara och tydliga tutorial :)
I love the beautiful heart you added to all the steps and the stamp is such a cutie :) Stunning coloration also :)
Tack för awarden, den värmer :)
Kram/Hugs
Great tutorial Paula - very easy to follow and I may well have a play! I really like the card you made - so pretty!!!
ReplyDeleteI think you're very brave having a cup of coffee on your desk! I'm so cack-handed that I'd probably knock it over!!
LOVE this tutorial!! You did a wonderful job of explaining things. I'm going to save this for whenever I DO get around to making one of these!! :) How sweet of your hubby to bring you a cup of coffee while you're working. I however have a strict NO FOOD or DRINK policy!! LOL I just KNOW me or one of the babies will knock it over and make a mess and ruin something...or everything. Is it crazy that just looking at all of your Copic's on your desk makes me so happy?!?! :) Have a wonderful week my friend.
ReplyDeleteawesome tutorial huni thanks for sharing and i just love seeing pics of your craft room and seeing your beautiful work space and all of those gorgeous copics xx
ReplyDeleteI think your workspace looks pretty orderly!!...Maybe mine is just a REALLY bad mess;)...This was fun to read...I like that it wasn't digital, but hand-drawn...Really clear and very informative!!...Oh, and super cute result!!...love the hearts:)
ReplyDeletexo, krista
this looks brilliant! I love this :)
ReplyDeleteGorgeous hearts and what a fab design of a card. I have tried a stepper card before, but it wouldnt stand up, I think it was missing the back bit - so thanks for clearing that up :)
I hope richard hasnt seen his valentines card ;) I have made so many, Dave can pick his! :D lol
xxalisonxx
Love seeing your craft room, Paula, it is fabulous!!!! Fab tutorial too,hun! I just might have to give this stepped card a try since you have made such clear instructions...I think I might be able to do this!!!! Love your card too...sooooo cute!!!!
ReplyDeleteHugs,t