PEP tangles - my Zentangle Inspired Art blog

Monday, 15 July 2013

The Same But Different

I've been struggling to make a card for several days but nothing has been coming together. There are good reasons for this: we are about to have our house valued prior to selling plus my husband had knee surgery in the middle of May which has meant that I've been wearing a lawn maintenance plus woodland management hat as well as being head gardener. Seeing my frustration my husband suggested I make one I'd made previously - I adapted that idea by making a variation of my design HERE using Chocolate Baroque instead of Penny Black stamps. 

front of card
close-up showing sentiment panel & tone on tone
background stamping
close-up showing shine of wet embossing,  iridescent
glittering, pearlescent & matt white contrasts
 plus shaped dimension of butterfly 
inside of card
close-up of corner stamping

When I was working with the butterfly I had a vague idea that I'd read somewhere about painting with Liquid Pearls & thought I'd try it (I just diluted a drop with a little water & applied it to the butterfly's wings using a paintbrush). I was quite thrilled with the results & decided to leave the very edges of the butterfly wings plain white so as to provide a touch of contrast without introducing any specific colour to detract from the iridescent shimmer of the Stickles used for the body & wing spots. 

Recipe
Stamps  Chocolate Baroque UDLSP0153 Just Butterflies (butterfly), UDLSP0155 Delightful Damask (sentiment) & UA4SP0146 Big Flowers (background & inside of card).
Inks Fired Brick Distress Ink (background), VersaFine Onyx Black (sentiment), VersaFine Onyx Black with Stewart Gill Ultrafine Embossing Powder (butterfly), VersaFine Satin Red (inside of card).  
Pencils/Markers etc… Memento Tuxedo Black Dual Marker (edging cardstock), Crystal Ice Stickles Glitter Glue, White Opal Liquid Pearls (colouring butterfly wings). 
Cardstock Whites & assorted blacks in various finishes from stash.
Paper Textured red from stash.
Dies Spellbinders Nestabilties Labels 16 (sentiment), Sizzix Bigz Die – Elegant Flourishes (swirls).
The pearls are Papermania.

Thursday, 27 June 2013

Peacock Mandala

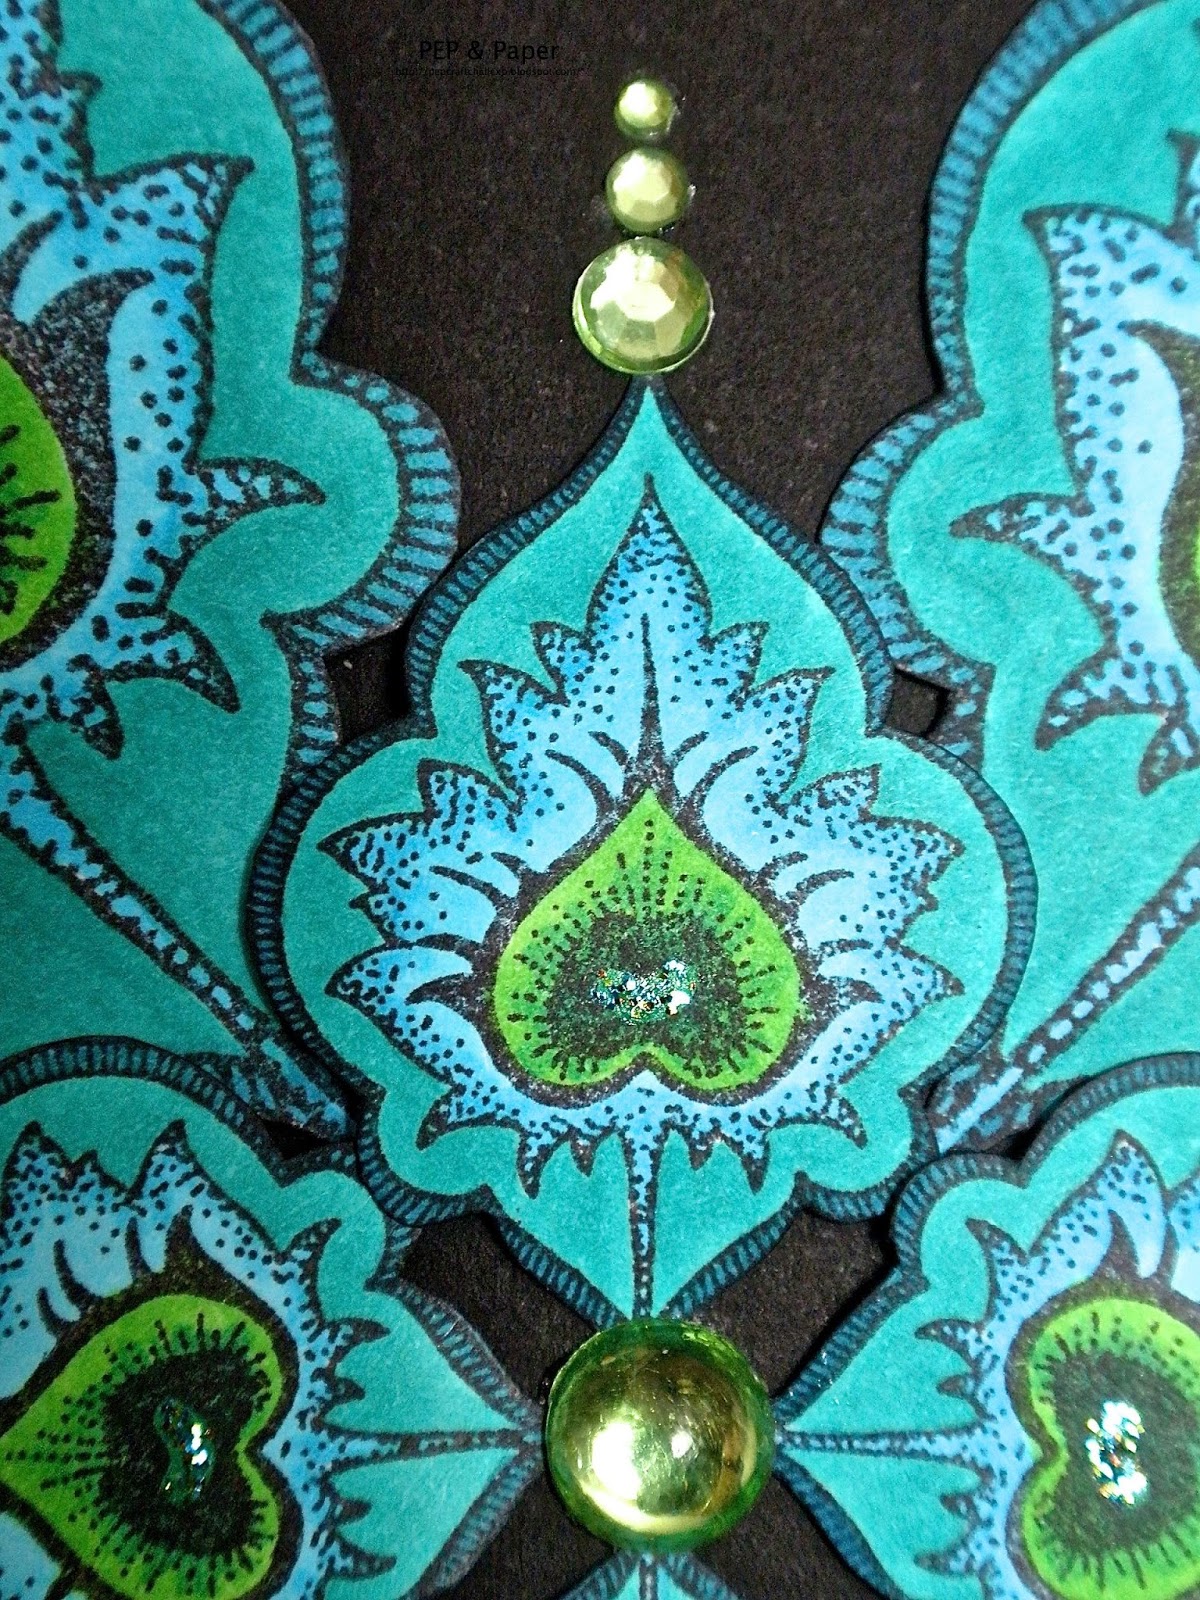
I had actually intended to use several more elements from Glenda's recent release of peacock stamps but eventually the mandala looked right using only two of the stamps - repeating the same image but in different sizes. This is a feature that I really appreciate with Chocolate Baroque: the provision of the same image but varying the direction it faces &/or the sizing.

front of card
angled view to show glittering
& central patterning
close-up showing detail of colouring plus
embellishing
angled view to show dimensional shaping & layering
inside of card

The two stylised feathers were repeatedly stamped & cut out after colouring & then gently shaped prior to assembling them in a mandala pattern. 

Recipe
Stamps Chocolate Baroque UA4SP0419 Peacock Parade.
Inks Memento Tuxedo Black (images on card front), Memories Black Dye (inside of card & edging paper).
Pencils/Markers etc… Copic Markers, Memento Tuxedo Black Dual Marker; Stickles Glitter Glue (Patina).
Cardstock Blacks in various finishes from stash.
Paper Textured light blue from stash.
Punches Woodware (Corner Rounder & Inverted Corner).
The gems are an assortment from stash including Kanban & Anita's.

Challenge Entered
Simon Says...Anything Goes

Friday, 21 June 2013

Distress Stain Cultures


A quick question: the above photo shows some of my Distress Stains - I have the 36 basic colours plus Picket Fence - which seem to have acquired some interesting cultures which don't smell but I'm not quite sure how to deal with. I was about to take the whole set of 37 & just dispose of them & put Distress Stains & me down to not being compatible - but I wondered if there was some mileage in taking the tops off & whether the stains themselves would be usable in just spray form or I could use them for watercolouring with. I suppose the question really is whether the mould is inherent in the stains or it is just the gauze top that has somehow gone mouldy. My craft room is not damp & we have more than adequate heating.

I would appreciate any ideas or suggestions. I have had the stains for over a year so I'm not considering returning them or asking for a refund & as I prefer the inkpads themselves I'm not looking to replace them. I just don't want to use them for water colouring & thereby 'contaminate' any artwork only to find that my artwork goes mouldy.

Saturday, 8 June 2013

Wednesday, 29 May 2013

The Timelessness of Leaves

see HERE for full details

Friday, 12 April 2013

Woodland Management Part 2

Thank you for all your kind comments on my last post - I'd not realized it would create so much interest.

the plateau at the top of our first bank leading
up to the second bank's steps & the perimeter fence

In my previous post I briefly mentioned the birdlife we have in our garden. We often hear an owl & even a few Mallard ducks have been known to find their way (a considerable detour from the Brecon Canal) onto our lawn. Treecreepers & Nuthatches are regular visitors as are Wrens & Titmice (Great, Blue, Coal & Longtailed). Often a Robin will come to see what we're doing & during the hard winters the Blackbirds will come & wait expectantly for food which we put out. I've also glimpsed a Greater Spotted Woodpecker & the odd Goldfinch. Various members of the Crow family, including Jays, are also in evidence. An intriguing feature we discovered just at the top of the steps (where the ground starts to level into a small plateau) is an 'anvil' stone which some of the birds use to crack open snail shells - we've seen them do this on our stone terracing.

the 'anvil' stone with the tell-tale snail shell remains to the right
(about half way between the stone & the photo's edge - click to enlarge)
close-up of the snail shell remains

The hand rail was in a rather sorry state but my husband managed to find the various parts of it scattered amongst the brambles. After reassembling, sanding & treating with preservative plus wood stain it now provides something very solid to grasp whilst ascending the bank approaching our steps leading up to the gate & perimeter fence.

the approach to the perimeter fence - this was taken prior to
staining the rail & before we'd started repairing the steps
the hand rail after painting with wood stain

We didn't have to replace all of the uprights or posts but those that were sound we stabilized & treated with wood preservative plus wood stain. We also built up the earth so as to make the 'treads' more solid. 


Wednesday, 10 April 2013

Woodland Management Part 1

As some of you know my husband & I live in a bungalow built into the hillside overlooking Brecon. The hill is actually an old hill fort - Slwch Tump - which is now mostly woodland & grazing for sheep accessed via a Public Footpath which runs along the topmost perimeter of our garden. Our garden, as you can see from the photographs, consists of both woodland & lawn. We keep the woodland in a semi-managed state allowing access to a gate which opens onto the Footpath but at the same time encouraging wildlife. I recently saw a Redwing & over the weekend my husband was surprised to find a Buzzard settling onto a branch about 15 feet above his head as he was gathering the tools for repairing our wooden steps.


The photo on the left was taken with my back towards our perimeter fence looking down onto the bungalow. I reversed the positions & took the photo to the right with my back against the window visible in the first photo looking up over 3 tiers of terracing into the woodland where I was standing for the first photo.


During some earlier dry & snow-free weather my husband managed to clear all the brambles etc... which had grown over the handrail & wooden steps leading up to the gate. The steps & the rail itself were in need of repair so that is what we have been working on now that the snow has thawed. We started with the steps leading into the woodland from the lawn but had to evict a couple of dozen lodgers who had made nests between the bank & rotting wood.

WARNING
 THE FOLLOWING SMALL PHOTOS SHOULD ONLY BE ENLARGED IF YOU ARE USED TO DEALING WITH GARDEN CREATURES

one of the rotten wood uprights removed


to the left is the sight that met us as we removed the wooden upright & to the right is a close-up of some of the inhabitants


a new upright cut, sealed with preservative & screwed into
posts dug in at either side AFTER evicting the slugs
the completed steps after painting with wood stain
In my next post I'll show some photos taken after we'd finished repairing the top section of steps leading to our gate which opens onto the Public Footpath.